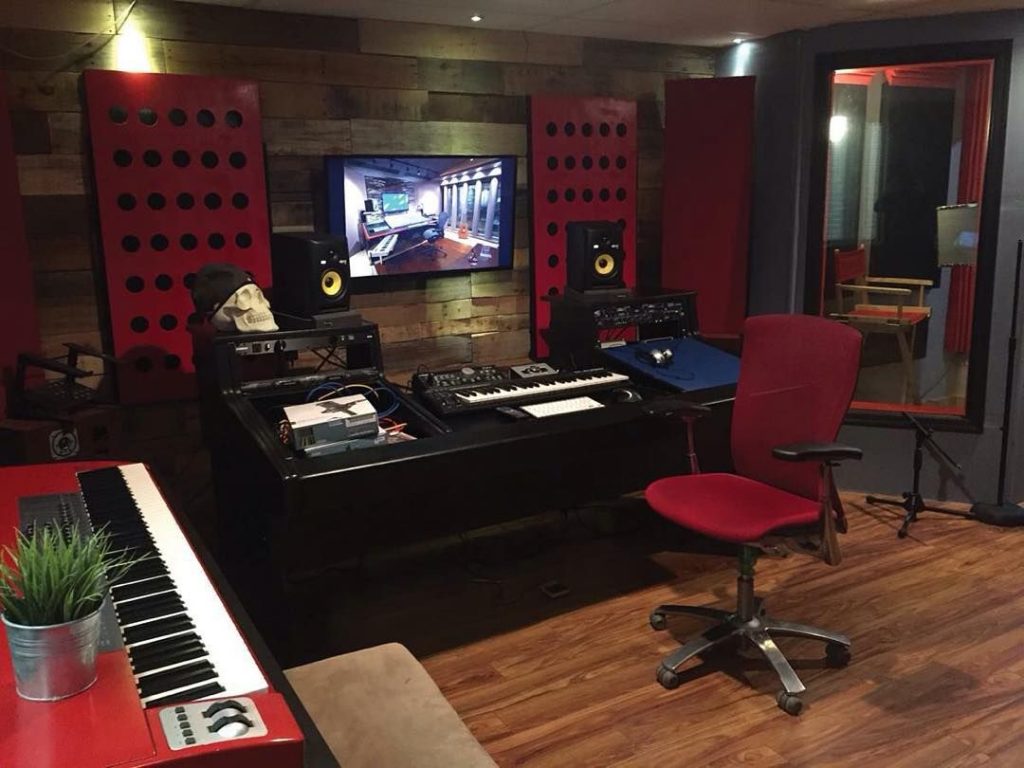
For many artists, the goal is to make their music available to the world. And with low budget home recording studios becoming more and more popular, it’s easier than ever for them to do so! But before getting started on building your own low budget studio, there are a few things you should know about what goes into this process. In this blog post, we’ll discuss how to build your own home studio along with some helpful tips that will help you save money in the process!
Why You Need a Home Studio
The main reason for a home recording studio is usually the cost. People have all sorts of reasons for wanting to work at home, so it’s hard to really offer one solid answer here. There’s also the benefit of focusing on your ideas more single-mindedly; it’s easier not to get distracted or lose momentum when you don’t have other things pulling at your attention. And finally, working at home cuts down on commute time which can take hours each day. Also home studio is a great way to get into the music production world without spending a small fortune on equipment, and it has a lot of important advantages.
What to Consider Before Building Your Own Home Studio

Building a home studio on a budget is difficult. There are several things that you need to do in order for it to work properly. Before you even get started, check out what limitations your space has and what sort of gear will have the most impact. Also, have some idea about who will be using the studio and how many people can use it at a time. Ask yourself also if more than one person likes altering mix levels or equalizing volumes when they record an instrument; then setting controls with knobs may not be ideal for them because they won’t want to mess with knobs when someone else is playing their instrument (for example, drums).
How to Build Your Own Home Studio on a Low Budget

– Create a sound-reflective room. If there is a focal point in the area to be used, isolate it from other rooms and windows by placing sound absorbing panels around it or hang fabric baffles.
– Soundproof exterior walls and windows with insulation, thicker drywall, plywood sheathing, caulking between windows and doors, weather stripping on all doors to prevent air leakage, rubber molding around all outside door frames that seal tightly to the walls of the room will reduce noise from outside coming into your recording studio. Seal any existing holes or gaps in ceilings and put up dampening material such as carpeting or rugs. The goal here is to avoid echoes, low-frequency noise, and reverberation.
The Best Gear for Recording at Home
If you’re looking for a cost-effective solution, then you’ll want to use pro audio equipment that can function as both an interface and a monitor. That way you pay once and your kit is the best of both worlds. You may also want to buy a balanced cable kit with XLR cables, an adapter for ¼ inch jacks and XLRs, and/or headphones so that your studio isn’t just 5 speakers in one room. Your gear needs to be compatible with each other– not necessarily the same model but at least capable of working together well.
Setting Up Your New Recording Space
The room should be large enough to set up your desk, outboard gear, and anything else you will need without feeling too cramped or pulling in too much equipment. A small desk with just the basics is perfect for a small studio setup. If needed, add secondhand furniture to fill any gaps when setting up. Make sure that whatever desk you choose has at least some height and doesn’t sit so low that your legs want to poke through it when sitting down in front of it! You can never have enough space for all of your gear!
Here are the best equipment that you need for home recording
– A computer (there’s no need to go to an Apple store, any old desktop should do)
– A USB cable to connect your audio interface with your computer. It will look like a long chord with an ugly connector at one end and it plugs in on both ends.
– An audio interface box for connecting microphones or instruments into the inputs of the interface box. This comes with mic preamps which take microphones sound signals and boost them before sending them back down the line into your computer.
– Headphones so you could tune things out thoroughly when monitoring the recording track just without wearing earplugs all day long!
