A new year calls for new lifestyle upgrades. These can be anything from the latest summer-wear to a state-of-the-art entertainment unit. If you’ve recently purchased an HDTV for transforming your viewing experience and for taking your TWC TV programming to the next level, then you’re just in luck. This post will guide you on how to set up your TV and get the best picture out of it. Why is this even important? Because shopping for television is nothing compared to setting it up and calibrating it in a way that renders a larger-than-life picture. It’s so confusing that some people even hire professionals calibrators to do this job, but you don’t have to worry about it. With the help of this post, you can set up your TV in no time, just like an expert would. So, without further ado, let’s check out the tips and tricks below.
Unboxing & Positioning

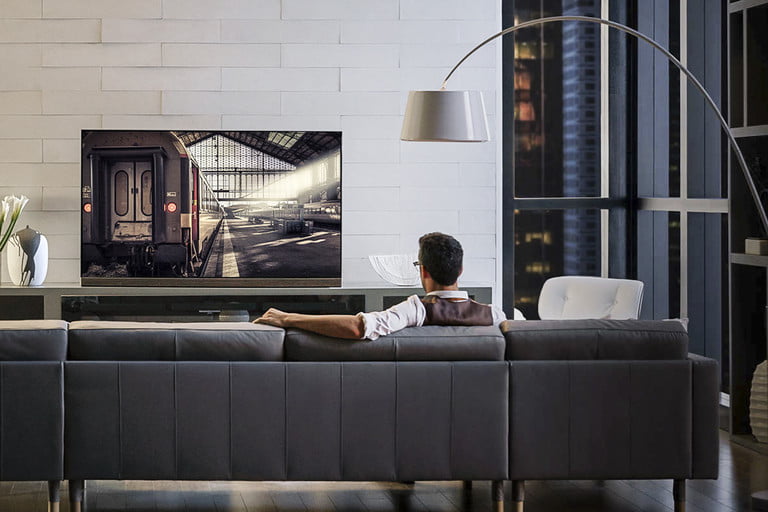
Begin by unboxing your new TV set, and putting aside the accessories that come along with it. Then, decide where you want to place it. Placement is crucial if you wish to get the right picture quality. So, set it in a way that the screen isn’t whitewashed by the light coming from the windows nor does it dull down excessively. Moreover, determine whether you want to mount the TV on the wall or simply find a place for it on your entertainment rack. Keep the eye-level in mind when positioning your HDTV. The display should ideally be a little below the eye-level of the viewers sitting on a couch in front of it. If you place the TV too high, then it can lead to eyestrain and neck pain.
Setting up Cables
Once you’ve located the perfect spot for your TV, then you need to tackle the cables. One of these cables is the power cord, which turns your television on. Find the control panel at the back of your TV set and attach the power cord in the slot marked as ‘power’. Next, if you are a cable or fiber subscriber, run the coax or fiber wire from the wall jack and connect it to the respective port on your HDTV. Another cable that you might come to use is the Ethernet, which can internet-enable your TV, should you choose to browse the web or play an online game on your television. If your TV has Wi-Fi capability, then you might not need the Ethernet. You will also see an HDMI port on your TV, is it is of the latest variety. This port is built for the HDMI cable. HDMI stands for “High-Definition Media Input” and is one of the most commonly used cables for connecting gaming consoles, DVR devices, media players, and other sound systems to your TV set. HDMI replaces older cables like S-Video and Composite video, because it transfers digital content in the highest video and audio quality, without compressing or changing the data makeup.
Setting up Sources
Sources refer to the Blu-ray players, cable or satellite boxes, 4K streaming devices, audio soundbars, and other component devices that can glorify your TV watching experience and take it above and beyond the basic functionality. After you have positioned your new HDTV the right way and attached the respective cables, then you need to alter the settings of the sources you plan to include in your entertainment unit and make them compatible with your new TV set. Some of the most modern sources automatically detect the TV settings you require and transmit the digital data accordingly. For instance, a gaming console will first see if your TV supports 2160p video resolution and Dolby sound, and then send you the feed in the highest definition, so your games have clarity, which is essential for snatching victories, especially in an open-world game. On the other hand, you might have to manually adjust the settings of some sources to make them run adjacent to your TV. For instance, if you have an older cable box, see that it is set to output HD and can display a video in the classic 16:9 frame.
Setting up Picture Quality
Your TV is mounted ideally, the cables are plugged in, and the sources are outputting the highest quality video and audio, the last thing you need to do is change the picture settings of your television display in a way that pleases the eye. Here are the most recommended TV picture settings for all the latest sets:
Mode: Go for Cinema or Movie and avoid Dynamic or Vivid that give an artificial picture.
Backlight: Turn it to 100% during the day, and disable it at night, whichever suits you the best.
Brightness: Keep the brightness at 50%. This setting determines how well defined the dark areas in your picture will be. Turn off Adaptive Brightness before tuning this control for the best results.
Contrast: Dial the contrast up to 100%, so the white areas in your picture don’t appear muddled.
Sharpness: Dial it down to 0% for the most natural picture quality.
Besides these, make sure to keep the fancy settings like Dynamic Contrast, Motion Interpolation, Black Tone, Super Resolution, and Noise Reduction off. You don’t want to over-complicate the picture quality.
Wrapping Up
Purchasing a new TV set is not enough. You need to roll up your sleeves, set up the HDTV, and calibrate its picture to get the most out of your entertainment experience. This article will help you do just that. Keep it close and you won’t need to hire a technician. That’s a guarantee!