Setting up a self-owned blog is perhaps the most popularly cherished desire these days. And why not? It is easy, gives you the feeling of being an owner, gives you an opportunity to make money and best of them all, it gives you a chance to put all your thoughts and ideas in one place and show them to the world.
Believe me, owning a blog is sometimes as precious as owning a physical property like a house or a car. It is sometimes easier too. So what does it take to setup a blog? This article is a guide to setting up a blog with the latest SharePoint 2010.
What Is SharePoint 2010?
SharePoint 2010 is a blog site template that has all it takes to accomplish company projects, publish news and updates and share knowledge of various ideas in your niche. Blog sites are defined by the way they are presented, the niche they deal with and so many other aspects. SharePoint sites include many details like information about the author, the purpose of their description and many more. There are additional tools for filtering posts by articles, bookmarks, calendar month or even sharing links and subscribing to blogs using RSS clients.
Setting Up Your Blog

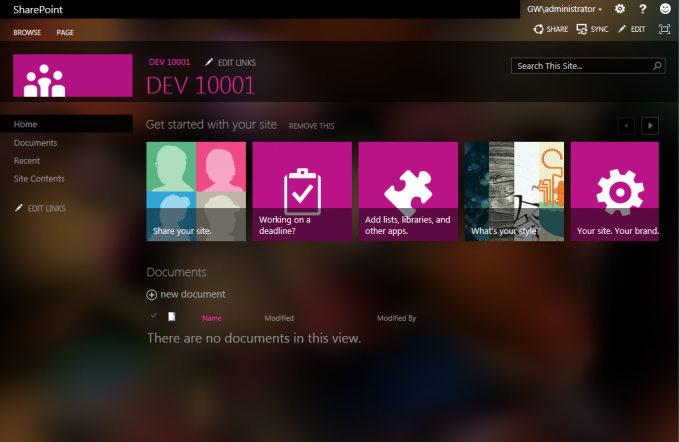
SharePoint 2013 Themes (metro look!)
Prior to creating a new site in SharePoint, you would be choosing your blog template. Creating a new personal blog site from SharePoint is different from creating blogs for your organization. In the latter you would be able to associate profile and personal settings with your niche. Using SharePoint Standard or Enterprise edition or enabling the Personal Sites feature can let you adjust your blog settings with more customizations.
The Steps
- Choose the personal navigation menu from a common SharePoint site.
- Choose My Profile
- Choose Content tab
- Choose the ‘Create Blog’ link to create an independent blog site.
Note : If the Create Blog hyperlink is not present in the content tab of the profile page, it means that the setup may not be allowing personal blogging sites. Check with your organization’s SharePoint Admin or HR department for more details on company’s policies with regards to blogging.
Guide To Managing Your Blogs In SharePoint

How Do You Manage Your Blog? – Blog Administration
Everybody knows the importance of good content these days. Creating blog posts allow you to improve your expertise, share and synchronize information and also assist colleagues to be up-to-date on your personal and professional activities. You can also edit posts to make changes and update original contents.
Creating a blog post
- Choose the ‘Create a Post’ from the blog tools menu and enter the values to suit your new post.
- Save the post by any of the two methods mentioned below:
Method 1
Click on the Publish button to save the content and get it ready for online display. You can even schedule the post to be published on a future date. Once it reaches the date, the post will be displayed automatically in the site.
Method 2
There is another method you can use to save your blog post. Choose the ‘Save as Draft’ option to save the content in the present status. This post will not be shown to the visitors of your site and you can publish the post at a later time.
How to publish a blog post that is already saved as a draft?

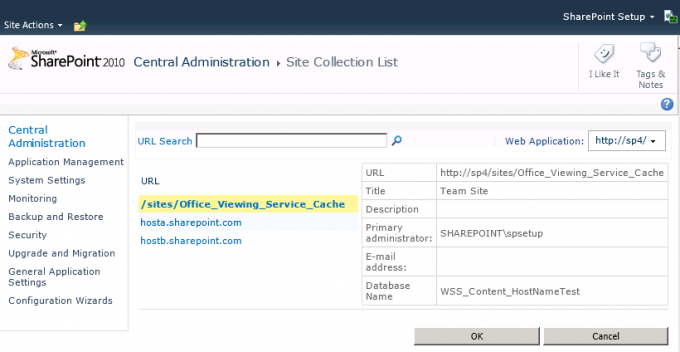
What Every SharePoint Admin Needs to Know About Host Named Site Collections
To save a blog post that you have already saved as a draft you can follow the below mentioned steps:
- Choose the Manage Posts option from the Blog tools menu list
- Check for all blog posts whose approval statuses are pending
- Choose the Items tab from ‘List Tools’ menu
- Choose Approve / Reject
- Choose the approve option from the popup menu and then click OK.
A lot of people tend to drop their blogging ideas thinking that it is the work of professionals. Hope this article would inspire them to change their minds.


