It takes a stretch of days at a time to get the coding and programming in place for your web app and if something goes wrong in the process, it hurts to start it all over again. At times when you haven’t checked and rechecked your app beforehand, you may come to find out that in the middle of the creation process that the idea you had isn’t going to work or the budget for your project is not big enough. This harsh realization can really spoil things. This is the reason why prototyping and user testing is a good idea, and can become pivotal for our work as developers. Let’s dive into these concepts and really understand prototyping and user testing, and the steps involved in them, in a more detailed manner.
PROTOTYPING
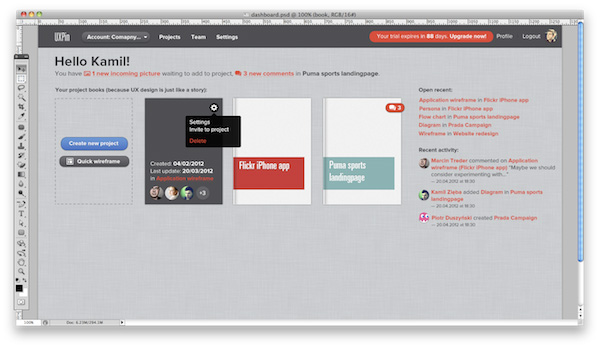
Ultimate Guide to Website Wireframing
Prototyping means creating a sample model of an app, which will form the base of how your app is going to look and function. Below we outline the steps which will help you go about it.
1. Brainstorm

Work Smart: Brainstorming Techniques to Boost Creativity
The first thing you need to do to start the prototyping process (and one of the most important parts) is get to brainstorming! When you are working on a new idea, gathering inputs from different sources is a great way to not stereotype your app with the tunnel vision that can sometimes come from one point of view. Having a session with developers who have ample knowledge and some experience about interfaces, will surely help you create a good base to start from. With the ideas you gained during the brainstorming session, start making wireframes of the screens and focus more on the important screens that will be used the most rather than screens you know just need to be there (as creating a frame for every imaginable screen is not productive – you can build them once the project is working!). Usually, the same frame can be used for different screens as functions are similar, and if not you can probably modify it to fit (and save some time) in early prototype wireframing.
2. Prioritize
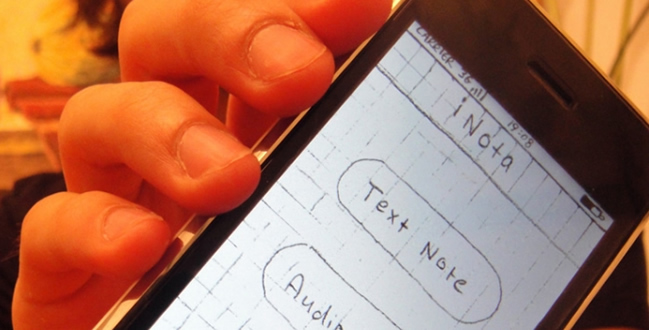
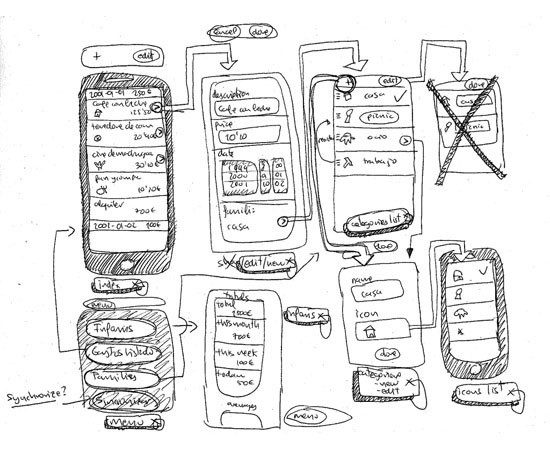
Paper Prototyping As A Usability Testing Technique
Now is the time to prioritize screens – using a pen and paper you can list out all the features or the components it is going to have in the end product. Listing the visual elements such as graphs, menus, texts, buttons and other components like warning messages, default and others is the next step. Do not forget to incorporate the most important screen elements like the logo, search box and others. After listing them, prioritize from the most important to the least important and conclude with a common pattern.
3. Mockups, Wireframes and Prototyping

Wireframing, Prototyping, Mockuping – What’s the Difference?
This is the step where you have to focus on how the app is going to look, create multiple interfaces, and perform the trial and error method to shortlist a few of the most interesting features, keeping the best ones and getting rid of what doesn’t work. This is the time when you might face glitches and problems but this is the most important part as now you would be able to solve these problems right now and reduce future issues that would give you a headache later when actual users are on it. Now is the time to gather all of the pieces of what you have done so far and stick the puzzle together. Here we are talking about the way the screens will work and what the interaction will be like among the elements on the them. For a better execution you can also use apps like Google Docs Drawing, Keynote and other similar programs. Once this is done you have to focus on the last step which is prototyping so that your app can be tested by users. Fireworks or Photoshop can be used for this step as now you have to create a flat prototype image and the interactivity can be manual. You can then export slices as HTML to create basic functionality with some simple hand coding. Then of course, rinse and repeat as necessary. Once your app is coded out and looking how you want it to look – Your app is now ready for user testing!
USER TESTING

An Introduction To Website Usability Testing
User tests are basically simple tests where the users are asked to perform a task through the app and their actions and thoughts are observed and recorded. The most important reason why you should not ignore the user test is because it gives you a good amount of information on how the app is going to be received by the people that will be using it most, its usability and the overall functionality of the web app. It also allows you to fix problems you did not foresee and find the features which are not being used as much as you thought they would be so that you can remove them from the final model and streamline the app. You can also use the valuable feedback to improve the app further by comparing it to other similar apps and provide a better customer care support. The tests are usually short and the scale of the app decides how many users are needed to carry out the tests. Now let us look at how to go about user testing.
1. Plan your Tests and Select Users
This is the first step and it is important as now you are decided on how everything is laid out in your app and this process of user testing will inform you about how your users are responding to the app which you have built. First of all, you need to decide what tests are important, and what tests you will get your users to run through as it is not really cost effective to test everything (since it does requires some time and money). Shortlist the most important and usable features of your app and make them ready for testing. It is a good idea to test the app yourself as well. Selecting your metrics is also important as this will spell out the usability issues and quantitative feedback which will definitely help you out. The next step is to select users which are probably going to use the app later, as their feedback is ultimately what you are looking for. Focus on the age groups, professions, income levels and similar deciding factors of the users which relate to your app and the target audience you are trying to reach. Remuneration is also an important factor in user tests.
2. Choosing Tools and Conducting Tests
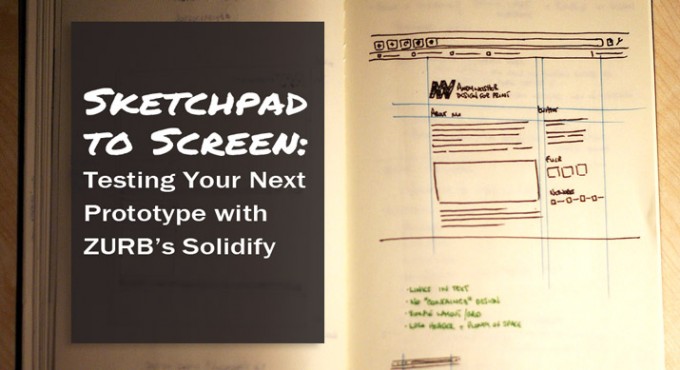
Sketchpad to Screen: Testing Your Next Prototype With ZURB’s Solidify
There are a number of tools you can choose from to facilitate your user testing. Some of the most successful and popular ones include Feedback Army, usertesting.com, Silverback, Morae, AdobeConnectionNow and others. You can easily find them around the Internet (you have probably used it before). When you plan to conduct the test, make sure the environment is relaxing and make the users sign a waiver for their permit. Observe them properly and record the feedback you receive – also do not forget to thank them once the test is done!!
Prototyping and user testing are set to go a long way in making apps better and these two steps will not only help you in creating a better app but also generate much needed hype for your app! We hope you found these tips useful, if you have any tips regarding prototyping and user testing web applications definitely let us know in the comments below and share some of your experiences! Thanks for Reading!

